OpenAI's GPT Image 2.5 Prompting Guide, Decoded
OpenAI quietly published a full prompting guide for GPT Image 2.5. Here is what it actually says: model choice, parameter discipline, 8 rules, 12 techniques.
Most prompting advice is folklore. Someone finds a phrase that worked once, posts it, and now "cinematic lighting, 8k, masterpiece" is treated as engineering.
OpenAI's official GPT Image 2.5 prompting guide is not that. It reads like a spec sheet: pick the right model, keep settings out of your sentences, brief the image like a designer, change one thing at a time. There is no magic vocabulary — and that is the most useful thing about it.
Here is the whole guide, decoded: the two-model architecture, the six-step migration playbook, the parameter rules most people break, and the 8 rules plus 12 techniques the guide demonstrates with side-by-side output from both models.
What OpenAI actually published
The guide sits inside the API documentation as Image prompting, and it is the first time the image family ships with a written manual for how to talk to it.
It answers four questions in order:
- Which model should you use?
- How do you migrate an existing workflow without breaking quality?
- Which settings belong in the API call instead of the prompt?
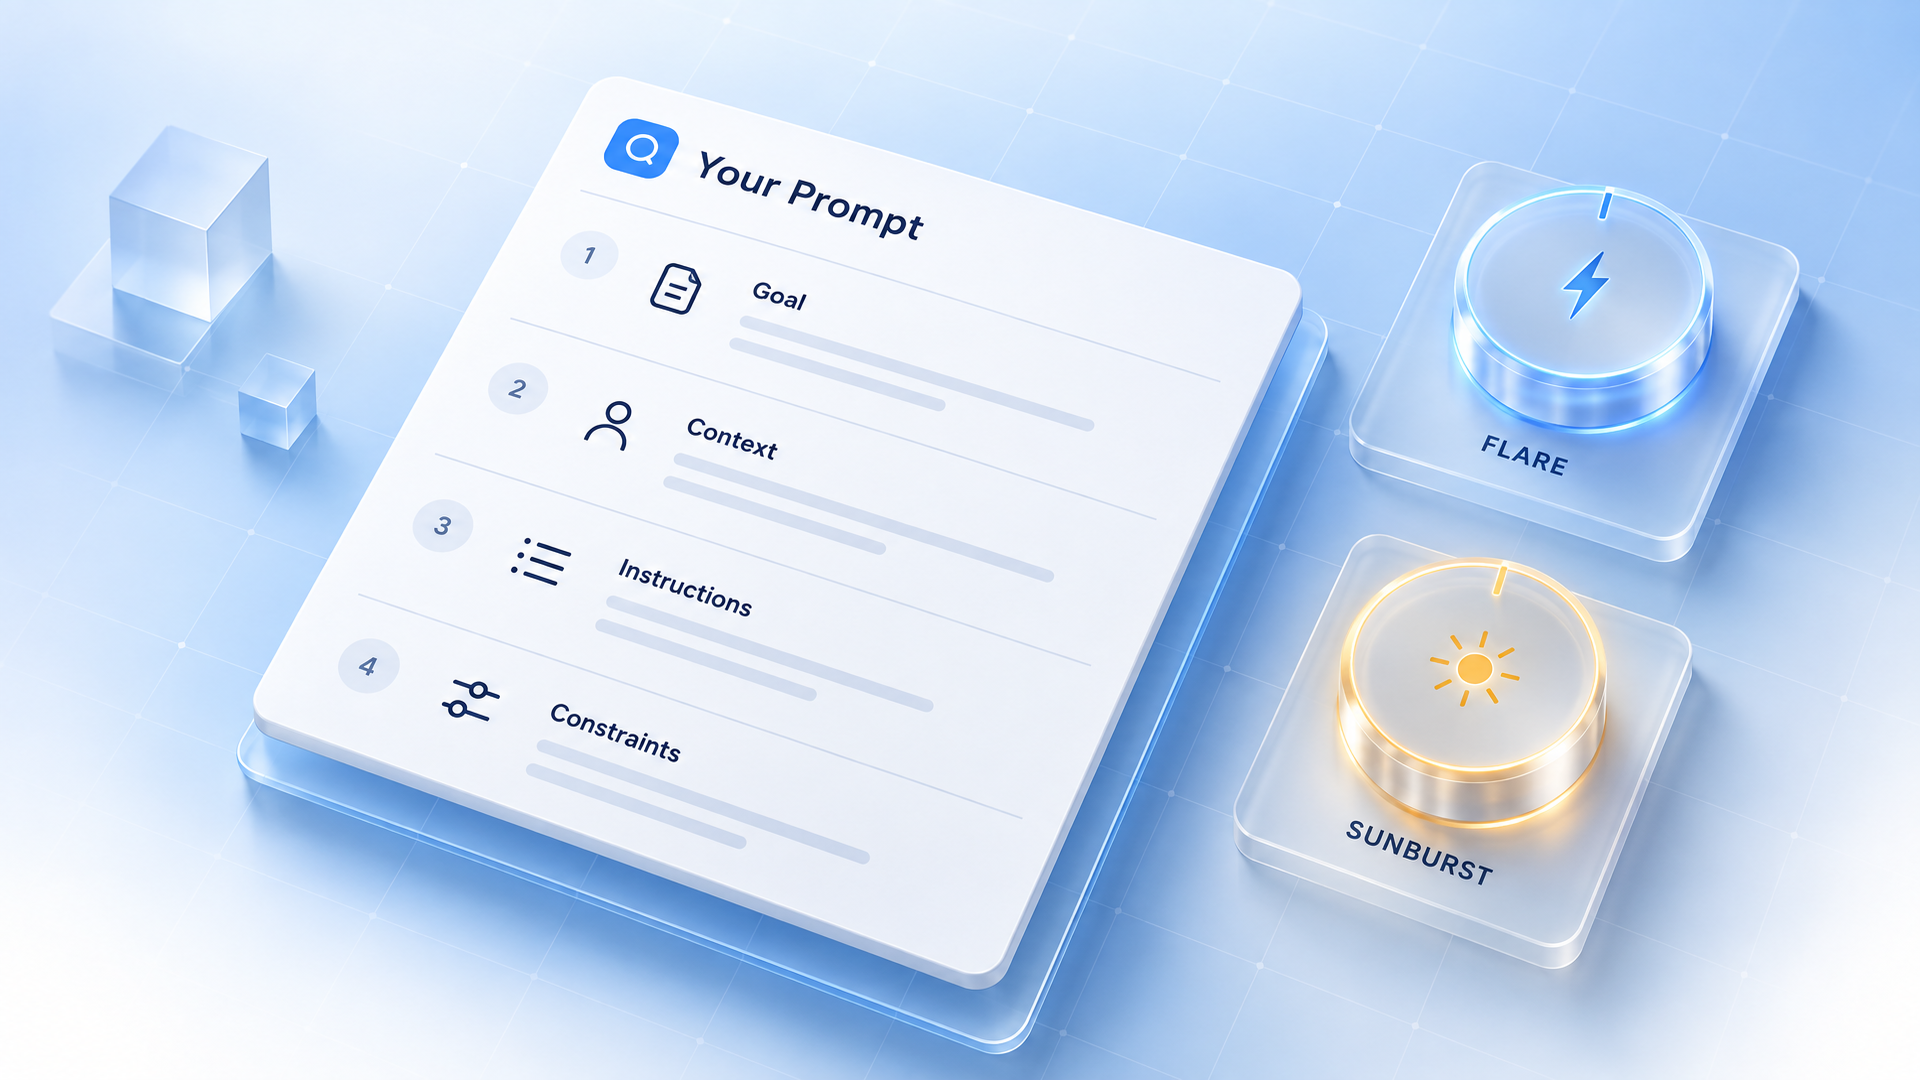
- What does a well-formed prompt contain?
Everything else is examples — more than twenty of them, each rendered with both GPT Image 2.5 Flare and GPT Image 2.5 Sunburst so you can compare the two models on the same input.
The line that carries the whole document:
Start with the image you need, then describe the subject, composition, style, and constraints. For edits, identify what should change and what must stay the same. Refine one thing at a time and inspect the result.
That is the guide in three sentences. The rest is detail — but the detail is where the output quality lives.
Flare vs Sunburst: the architecture decision comes first
GPT Image 2.5 is not one model. It is two, and the guide frames the choice as a workflow decision, not a preference.
| Model | What it is | What it is for |
|---|---|---|
gpt-image-2.5-flare | The small model, optimized for speed | Image quality comparable to GPT Image 2, at lower latency |
gpt-image-2.5-sunburst | The base model, optimized for quality | Higher image quality than GPT Image 2, slower per image |
The guide's decision table is refreshingly blunt. If your existing GPT Image 2 workflow already meets your quality bar, start by testing Flare to see whether you can keep that quality and lose latency. If you have a complex use case where GPT Image 2 falls short, start with Sunburst and establish that it meets the bar at all.
Then the important nuance: if Sunburst passes, test Flare against the same prompts, the same references, and the same dimensions. Switch only if quality holds and latency improves. Otherwise stay on Sunburst.
Two rules in that section are easy to miss and expensive to ignore:
- The same quality label does not mean the same image quality across models.
quality="high"on Flare andquality="high"on Sunburst are not the same picture. - Speed improvements are workload-specific. The guide explicitly warns that a gain on one workload says nothing about another, because prompts, references, output dimensions, and quality settings all move the number.
Both models generate, edit, and support transparent backgrounds, so the choice is genuinely about quality versus latency — not features.
The six-step migration playbook
This is the part of the guide with the least sex appeal and the most practical value. It is written for teams replacing GPT Image 2 in production, and it works just as well for one person testing a new model.
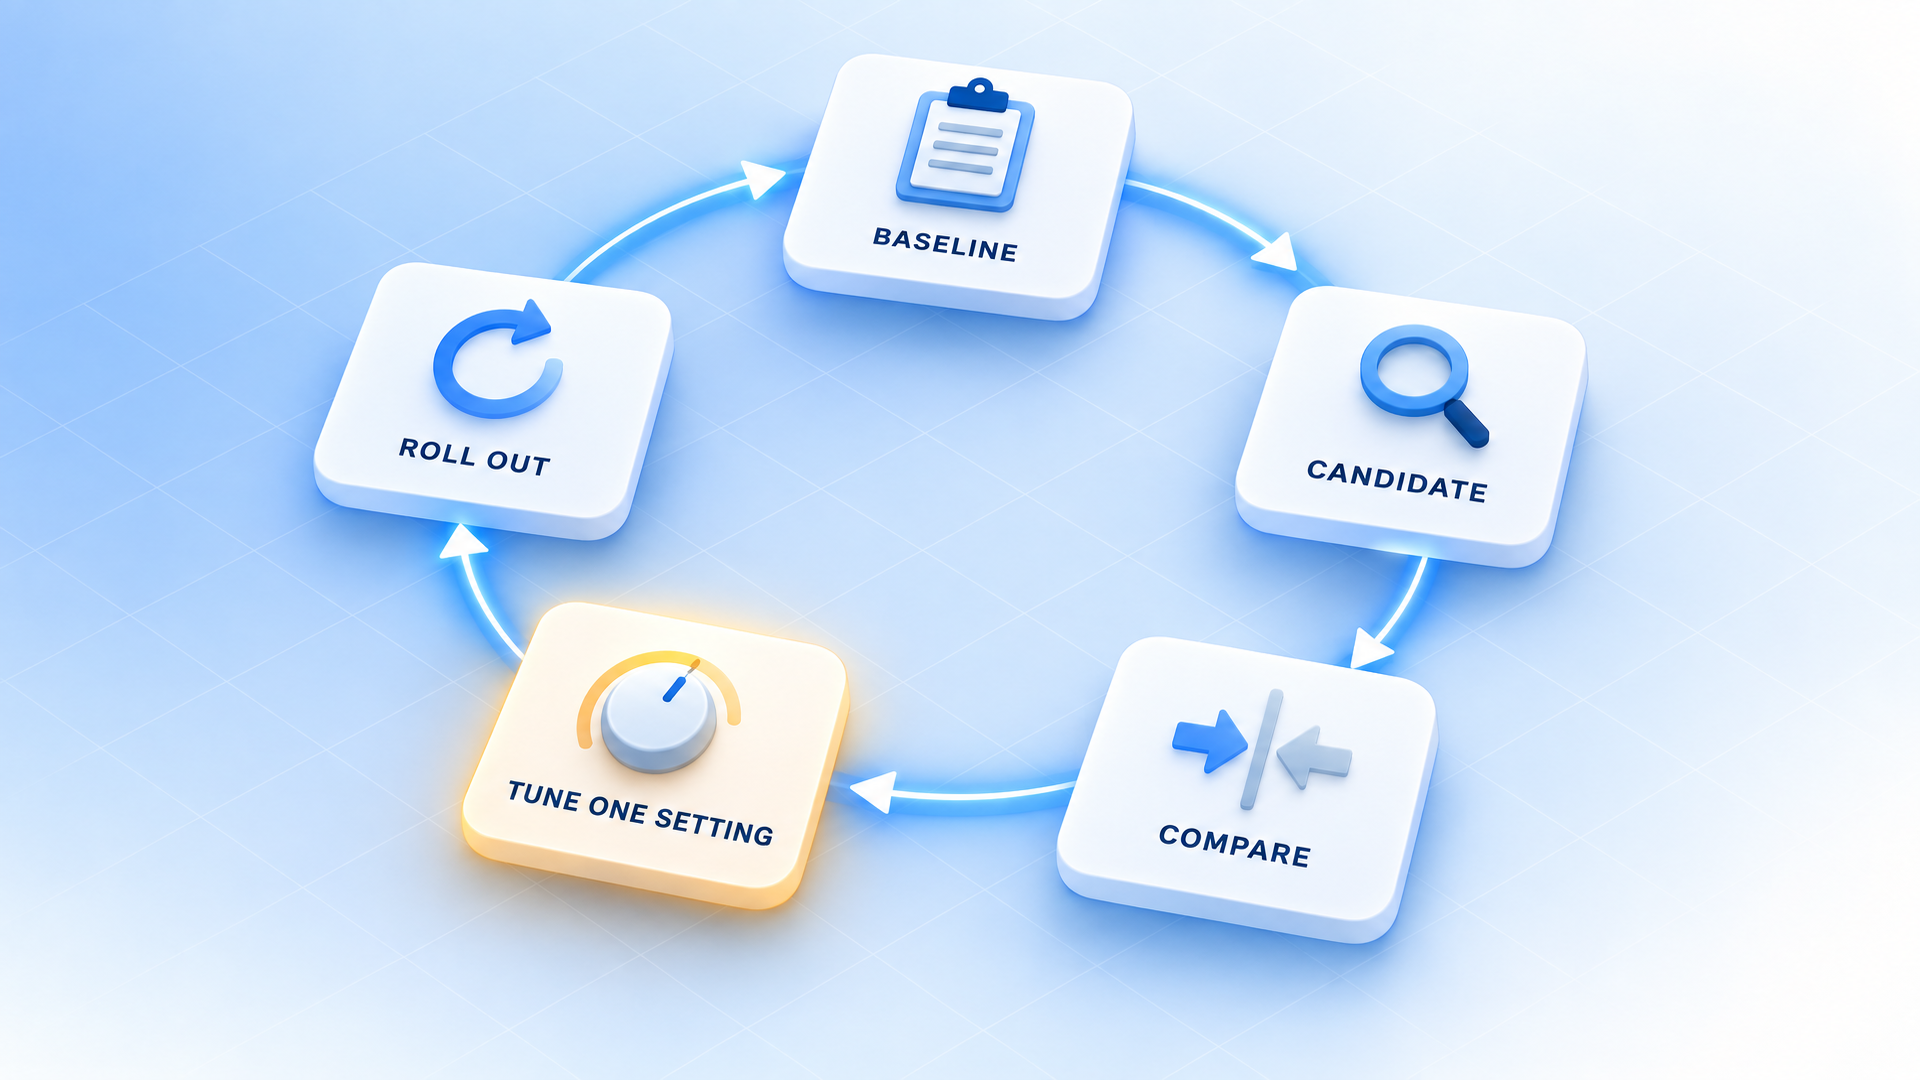
- Save a baseline. Collect representative production prompts and reference images — including the hard cases: difficult edits, exact text, faces, product geometry, transparent assets. Record the model, settings, and results.
- Choose the first candidate. Validated GPT Image 2 workflow: start with Flare. Complex case where GPT Image 2 falls short: start with Sunburst. Keep prompt, references, dimensions, and format unchanged for the first comparison.
- Check the complete result. Compare instruction following, identity and product preservation, text accuracy, unwanted changes, and transparency. Repeat requests to measure consistency, and for editing workflows test the full sequence of edits — not just individual steps.
- Test for latency gain after quality passes. Only then compare Flare against the same requirements.
- Tune one setting at a time. Compare quality levels before rewriting prompts. Measure typical and slow responses, failures, retries, and cost per accepted image. The guide adds a pointed reminder: confirm current pricing rather than assuming the faster model costs less.
- Roll out by workflow. Move a small share of traffic, monitor the same measures, expand gradually, and keep the previous model available for rollback.
There is also an honest admission that belongs in every production checklist: repeated edits can still change details you intended to preserve. Restate those constraints, inspect each result — and if a region has to stay pixel-identical, composite the approved edit into the original image instead of trusting the prompt.
Parameters are not prose
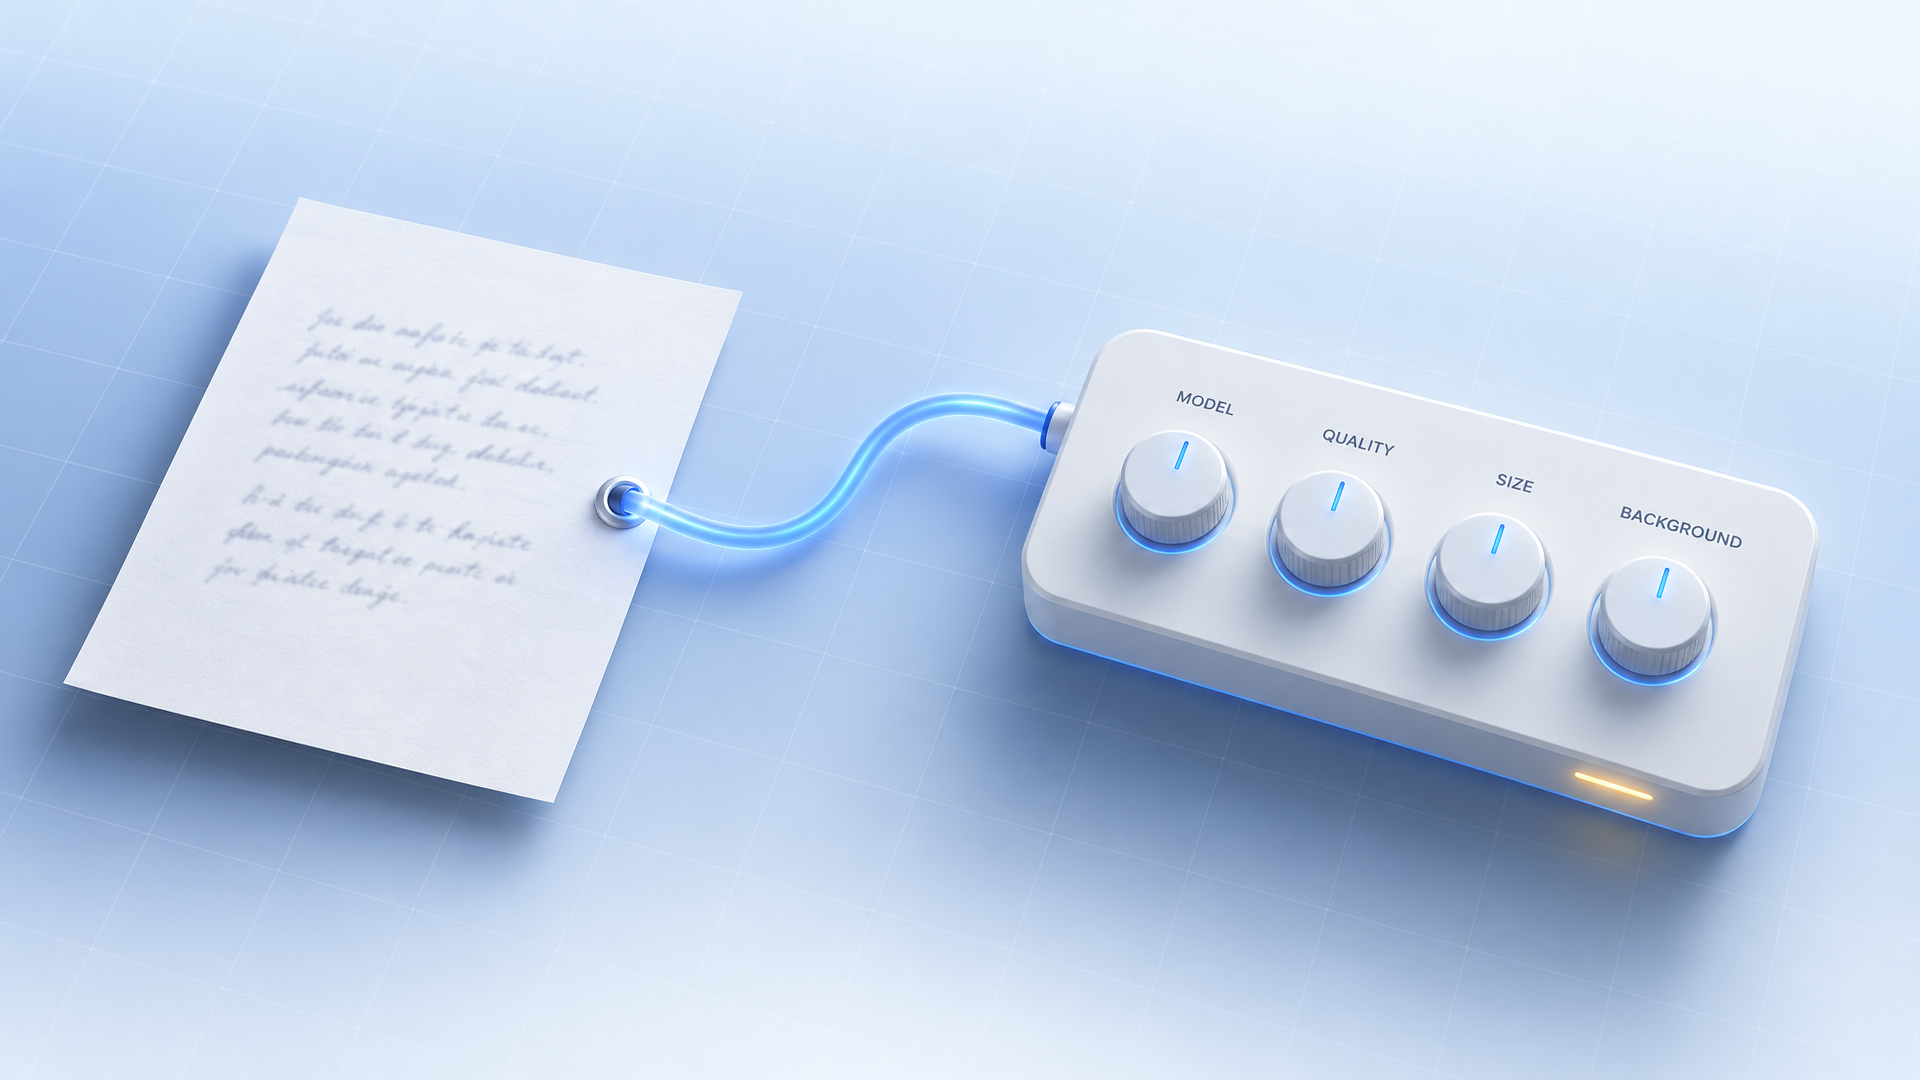
The guide states it in one line: set API parameters separately from the prompt. Telling a model "make it 4K" in a sentence is a suggestion. Setting size is a guarantee.
| Parameter | GPT Image 2.5 settings |
|---|---|
model | gpt-image-2.5-flare or gpt-image-2.5-sunburst |
quality | auto (default), low, medium, high, xhigh, max |
size | auto or a custom resolution — common sizes include 1024x1024, 1536x1024, 1024x1536, 2048x2048, 3840x2160, 2160x3840 |
background | auto, opaque, or transparent |
Custom resolutions follow hard rules, and the guide lists them as constraints rather than tips:
- Each edge must be no more than 3,840 pixels.
- Both edges must be multiples of 16 pixels.
- The long-to-short ratio cannot exceed 3:1.
- Total pixels must land between 655,360 and 8,294,400.
Anything above 3,686,400 pixels — past 2560×1440 — is flagged experimental, so inspect it before shipping.
The quality ladder has a logic of its own, and it is not "higher is safer":
- Start where the output fails. Climb a tier when small text turns to mush or a diagram's labels collapse.
- Climb back down when it passes. Once the result meets requirements, test lower settings to see whether you can keep the quality and reduce latency.
- Use
xhighormaxonly when they fix an unmet requirement inside your latency budget.
A higher setting does not guarantee a better image for every prompt.
Transparency gets its own warning, and it is the one most teams get wrong. You have to do both things: ask for an isolated subject and set background="transparent", on PNG or WebP. A drawn checkerboard is not transparency. Then check the decoded file's alpha channel — hair, glass, shadows, and object edges are where it breaks — and don't apply output_compression to PNG.
The 8 GPT Image 2.5 prompting rules
The guide's "Prompting fundamentals" is eight numbered principles. Read them as a checklist before you blame the model.
- Define the result. Name the subject and the intended use — a product photograph, an advertisement, a diagram. Specify composition, aspect ratio, and placement constraints. When the request is complex, organize the prompt into labeled sections: scene, subject, details, constraints.
- Choose a maintainable format. Short prompts, descriptive paragraphs, JSON-like structures, instructions, and tags all express the same intent. Pick the format that is easiest to read and update. There is no special syntax to unlock.
- Describe visible details. Name materials, lighting, colors, and medium. Ask for "photorealistic" or "real photograph" explicitly when that is the goal. Camera specifications are cues for appearance, not a physical simulation — so for wide, cinematic, low-light, rainy, or neon scenes, specify scale, atmosphere, and color instead of leaning on mood words.
- Specify people and actions. Describe body framing, relative scale, gaze, and interaction with objects. "Full body visible, feet included" and "hands naturally gripping the handlebars" do more work than "dynamic pose."
- Specify exact text. Put required wording in quotes, describe position and typography, and spell unusual words or brand names letter by letter when needed. Add "no extra text," then check spelling and legibility in the output — and compare medium or high quality when the type is small, dense, or in several fonts.
- Separate changes from constraints. For edits, say "change only X" and then list what must be preserved: identity, geometry, layout, lighting, labels. Name the exclusions too — unwanted text, logos, watermarks. For precise local edits, also pin saturation, contrast, arrows, camera angle, and surrounding objects.
- Assign roles to references. Identify every input by number and purpose: subject, style, clothing, background. Explain how they should combine, and which elements move where.
- Iterate deliberately. Pass the previous output back as the next input, request one change, and repeat the details to preserve. "Same style as before" can carry context, but restate critical constraints if the result drifts — and compare before adding more instructions.
Notice what is absent: no "masterpiece," no stacks of quality adjectives, no magic tokens. The guide treats prompting as briefing.
12 techniques, with the guide's own prompts
Each example in the guide demonstrates one technique. Below is the technique, the rule in one line, and an abridged version of the official prompt.
1. Control style and lighting
Describe a photograph through subject, framing, light, and texture — then exclude the retouching the model would otherwise add.
Create a photorealistic candid photograph of an elderly sailor standing on a small fishing boat.
Weathered skin with visible wrinkles, pores, and sun texture. A few faded traditional tattoos.
Shot like a 35mm film photograph, medium close-up at eye level, 50mm lens.
Soft coastal daylight, shallow depth of field, subtle film grain, natural color balance.
Honest and unposed. No glamorization, no heavy retouching.
2. Explain a process visually
Name the process, the audience, and the information the image must communicate. For diagrams, verify labels and factual relationships, not just appearance.
Create a detailed infographic of the functioning and flow of an automatic coffee machine.
From bean basket to grinding, scale, water tank, boiler, and so on.
I want to understand the flow technically and visually.
3. Render exact text
Quote the copy, say how many times it appears, and stop adding unrelated instructions.
Ad / fashion shot for a young streetwear brand called Thread.
A group of friends hanging out, tagline "Yours to Create."
Polished campaign image: stylish, contemporary, energetic, tasteful.
Render the tagline exactly once, clearly and legibly, integrated into the layout.
No extra text, no watermarks, no unrelated logos.
4. Design a reusable logo
Describe the brand and the shapes that should define the mark, keep the composition legible at any size, and request transparency in both the prompt and the API. Use n to compare variations.
Original, non-infringing logo for a local bakery called Field & Flour.
Warm, simple, timeless. Clean vector-like shapes, strong silhouette, balanced negative space.
Simpler rather than detailed, so it reads at small and large sizes.
Flat design, minimal strokes, no gradients unless essential.
Fully transparent background. One centered logo, generous padding, clean alpha edges,
no solid backdrop, scenery, checkerboard, or watermark.
5. Use historical and real-world context
Name the place and date. The model infers context — but you still inspect clothing, staging, and surroundings for accuracy.
Create a realistic outdoor crowd scene in Bethel, New York on August 16, 1969.
Photorealistic, period-accurate clothing, staging, and environment.
6. Turn a story into a comic strip
Define the narrative as a sequence of clear visual beats, one per panel, and keep the descriptions concrete and action-focused.
Create a short vertical comic-style reel with 4 panels.
Panel 1: The owner leaves through the front door; the pet is framed in the window behind them.
Panel 2: The door clicks shut; the pet slowly turns toward the empty house.
Panel 3: The pet sprawls across the couch like it owns the place, sunlight across the room.
Panel 4: The door opens; the pet is seated perfectly by the entrance.
7. Create an interface preview
Describe the product as if it already exists. Layout, hierarchy, spacing, real interface elements — and avoid concept-art language so the result looks shipped rather than sketched.
Realistic mobile app UI mockup for a local farmers market.
Today's market header, a short list of vendors with small photos and categories,
a small "Today's specials" section, location and hours.
Practical and easy to use. White background, subtle natural accent colors, clear typography,
minimal decoration. Place the mockup in an iPhone frame.
8. Create scientific and educational visuals
Write it like an instructional design brief: audience, lesson objective, format, required labels, scientific constraints.
Biology diagram titled "Cellular Respiration at a Glance" for high school students.
Show glucose turning into energy inside a cell: glycolysis, the Krebs cycle, the electron
transport chain. Arrows connect the steps; label glucose, pyruvate, ATP, NADH, FADH2, CO2, O2, H2O.
Clean classroom handout: white background, simple icons, clear labels, readable text.
Avoid tiny text and extra decoration.
9. Build slides, diagrams, and charts
Write an artifact spec, not an illustration request: name the exact deliverable, define the canvas and hierarchy, and supply the real text or data.
One pitch-deck slide titled "Market Opportunity," like a real Series A slide.
White background, Inter-style sans-serif, crisp minimal layout.
TAM/SAM/SOM concentric circles in muted blues and grays: TAM $42B, SAM $8.7B, SOM $340M.
Bar chart below showing market growth 2021–2026 with a subtle upward trend.
Footnotes: "AGI Research, 2024" and "Internal analysis."
10. Assign roles and combine references
Number every input by purpose, then say what moves where and what must not change.
Place the dog from the second image into the setting of image 1, right next to the woman.
Use the same lighting, composition, and background. Do not change anything else.
11. Edit with surgical precision
Name the object, name the change, and protect the surroundings so the edit stays local.
Remove the flower from the man's hand. Do not change anything else.
In this room photo, replace ONLY the white chairs with chairs made of wood.
Preserve camera angle, room lighting, floor shadows, and surrounding objects.
The same pattern covers style transfer (assign the reference a role: palette, texture, medium) and cutouts (isolate the subject, preserve geometry and label legibility, add no backdrop, keep clean alpha).
12. Refine across turns
Start with one output, inspect it, then use it as the next input — one narrow change at a time.
Create a realistic billboard mockup of the shampoo on a highway scene during sunset.
Billboard text (EXACT): "Fresh and clean"
Bold sans-serif, high contrast, centered, clean kerning. Text appears once and is legible.
No watermarks, no logos.
Then: Make it look like a winter evening with snowfall. That's the entire second turn — one condition changed, everything else preserved.
For characters across multiple images, the guide's approach is a reusable character reference plus repeated defining details in every new scene. The environment changes; the character's description does not.
What the guide leaves to you
Three things never get automated, and the guide says so plainly.
Verification. Check the output against requirements: is required text accurate and legible? Are diagram labels and relationships correct? Did identities, product shapes, and labels survive? Did the edit change only what you requested? If transparency was required, does the file actually contain an alpha channel rather than a painted background?
Judgment about quality versus cost. Compare quality, latency, and cost on representative inputs whenever you change a prompt or a model. The guide points to current pricing rather than promising a discount.
The brief itself. No format is prescribed. Scene / subject / details / constraints is recommended because it survives edits best, but the rule is simpler than that: choose the structure you can read and update.
Run these techniques without an API key
Everything above works on the raw API — and none of it requires you to manage size, quality, and background by hand.
Felo's GPT-Image 2.5 workspace runs the same model family in the browser:
- Free to start, no API key, no setup. Paste any prompt from this guide and generate.
- Format and resolution presets instead of parameter strings — square, landscape, portrait, up to native 4K.
- Both models in one place. Switch between GPT-Image 2.5 and other top image models when a job calls for a different strength.
- No watermark, full commercial rights, including on the free plan.
If you want more prompts built on the same rules, we collected 12 copy-paste GPT Image 2.5 prompts in our practical guide.
FAQ
What is the difference between GPT Image 2.5 Flare and Sunburst? Flare is the small, speed-optimized model with quality comparable to GPT Image 2. Sunburst is the base, quality-optimized model with higher image quality than GPT Image 2. Start with Flare if speed matters and your quality bar is already met; start with Sunburst for complex, high-detail, or client-facing work.
Does OpenAI recommend a specific prompt format? No. The guide says short prompts, paragraphs, JSON-like structures, instructions, and tags all work — pick whichever is easiest to read and update. For complex requests it suggests labeled sections: scene, subject, details, constraints.
Why should size, quality, and background stay out of the prompt?
Because they are API parameters with guarantees, while prose is a suggestion. "Make it 4K" asks nicely; size delivers. Keeping format decisions in parameters also means your prompt stays reusable when you change output size.
How do I stop an edit from changing everything else? Say "change only X," list what must be preserved (identity, geometry, layout, lighting, labels), and name exclusions such as extra text, logos, and watermarks. If a region must stay pixel-identical, composite the approved edit into the original rather than relying on prompting.
How do I get readable text in an image? Quote the exact copy, state where it sits and how many times it appears, describe the typography, and add "no extra text." Then read every word in the output and use a medium or high quality setting when the type is small or dense.
Do I need the OpenAI API to use these techniques? No. The techniques are about how you write the brief, not which endpoint you call. Felo's GPT-Image 2.5 workspace runs the models in the browser for free, with no API key.
The manual is the headline
A model that ships with a manual is telling you something: the results are now a function of your brief, not of finding the right incantation.
Pick the model for the job. Keep settings in the parameters. Write the scene, the subject, the details, and the constraints. Change one thing at a time, and check what comes back.
That is the entire guide — and it is the reason the output stops being a lottery.
Try GPT-Image 2.5 on Felo — free →
This post is also available in 简体中文, 日本語, 한국어, 繁體中文, हिन्दी, Français, العربية, Русский, اردو, Bahasa Indonesia, Deutsch, Tiếng Việt, Türkçe, Italiano, ไทย, Español, বাংলা and Português.