Product Photo to Video: Plan One Clear Product Shot

Turn a product photo into a focused video shot with Felo. Choose one movement, prepare references, check product accuracy and add final text in an editor.
Felo tools: Image to Video · Seedance 2.5 · Wan 3.0 Prime · Kling 4.0 · MiniMax H3 · Text to Video.
Turning a product photo into video starts with a small production decision: what should move? A slow camera approach, a short reveal or a gentle change in viewpoint can give a still image a useful role in a video sequence.
For a recognizable product, more movement is not automatically more useful. Every new angle asks the model to infer surfaces the photograph may not show. Start with one clear action and judge the result against the real item.
This guide walks through a product-photo-to-video workflow in Felo, from choosing the image to checking the generated clip and adding final text in an editor.
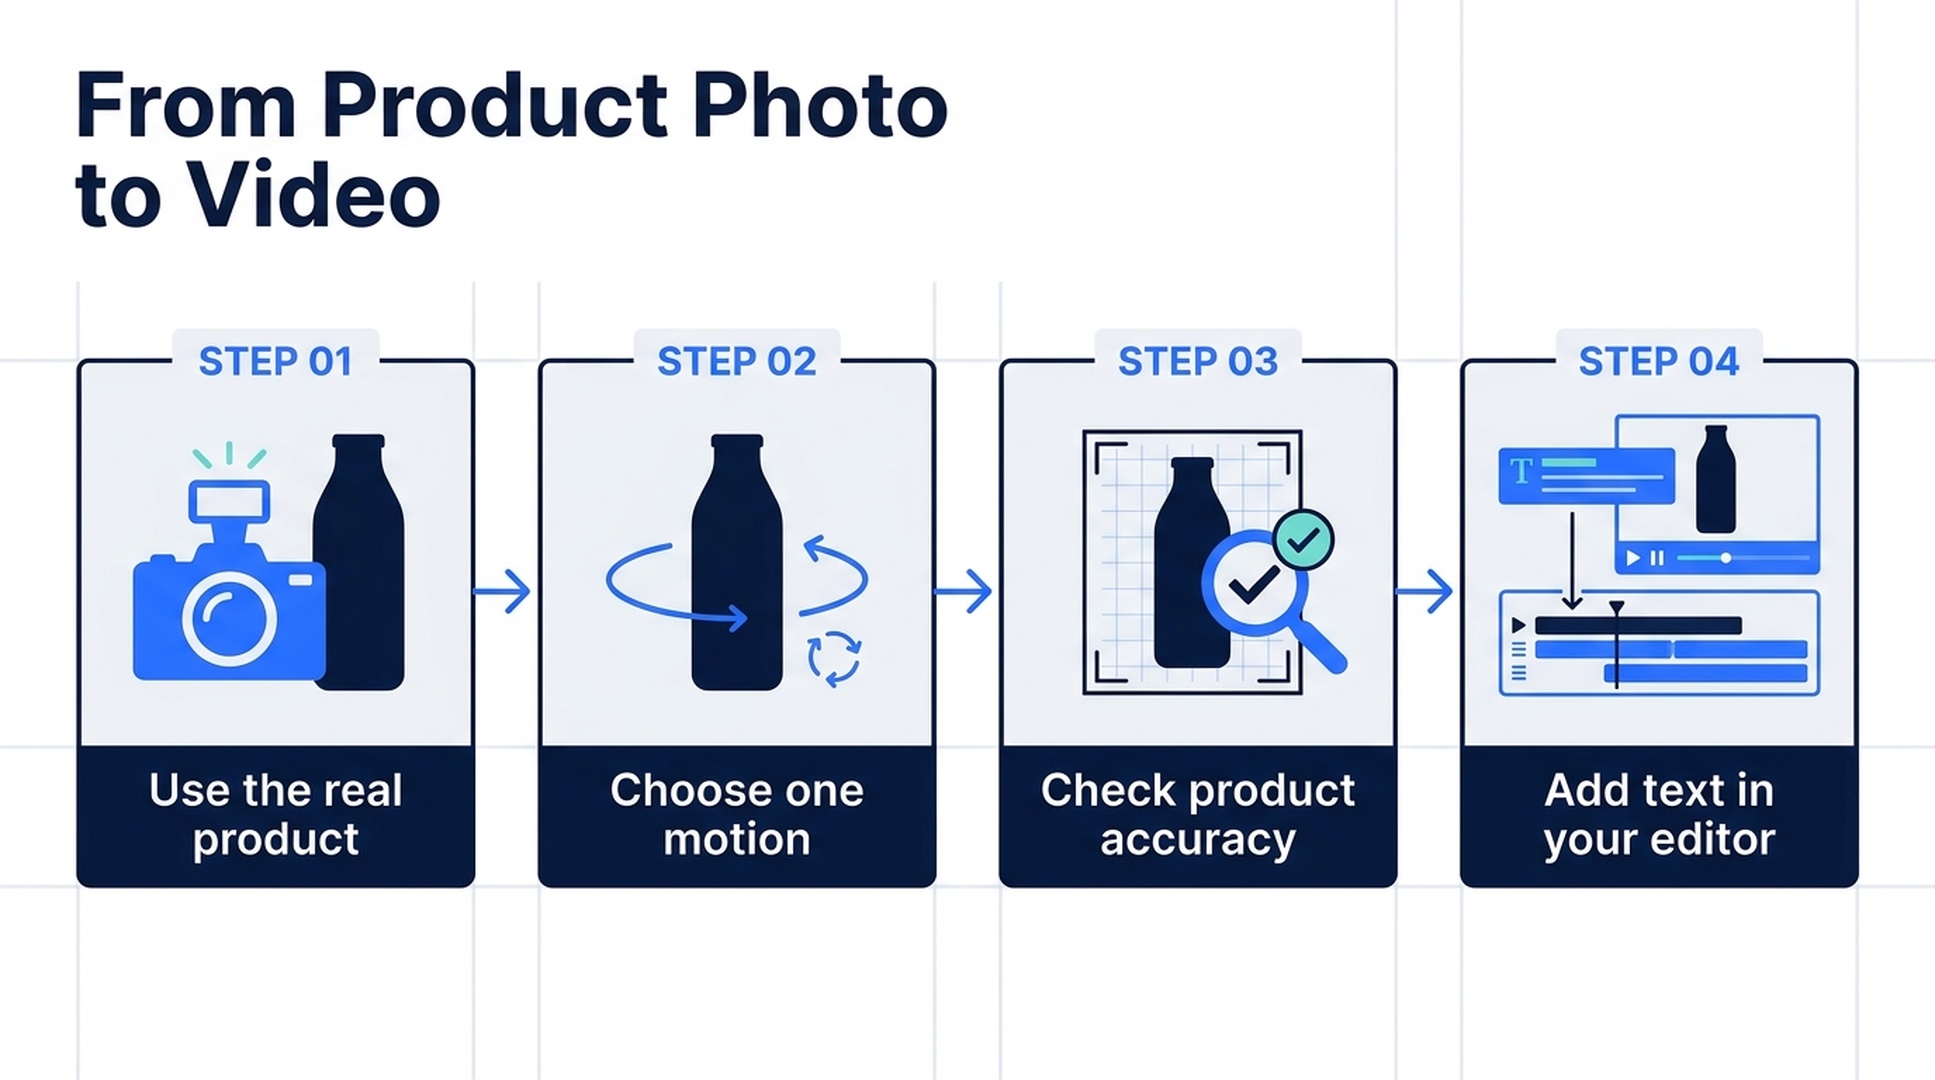
Illustrative guide; not a screenshot or a generated-video result.
Choose a photograph that explains the product
Use a clear image of the actual item you intend to show. The product should be large enough to inspect, with its defining shape and visible details unobscured. Avoid a busy collage when one clean view communicates the subject more directly.
Before uploading, list three details that must remain recognizable. For a bag, they might be the front pocket, strap attachment and main color. For a bottle, they might be the silhouette, cap and label position. These become acceptance checks after generation.
If the proposed camera move reveals a side absent from the photograph, either provide a useful additional reference in a supported workflow or reduce the movement. A shallow arc demands less unseen information than a full rotation.
Felo's image-to-video workflow supports different reference and frame approaches depending on the selected model.
Decide what this clip contributes
Treat the generation as one shot inside a larger piece. It might establish the product, reveal a detail or create an ending behind an offer added later.
| Shot purpose | Suggested movement | What to inspect |
|---|---|---|
| Introduce the product | Slow approach toward a stationary item | Full silhouette remains recognizable |
| Show a detail | Small move toward a visible feature | Feature shape and material stay plausible |
| Reveal depth | Shallow camera arc | Product stays still while viewpoint changes |
| Prepare a closing card | Gentle motion settling into a calm composition | Room remains for text added in the edit |
Choose one purpose before writing the prompt. A short shot that tries to rotate the product, change its color, demonstrate its use and display an offer contains several independent tasks.
For a first attempt, six seconds provides a simple working brief supported by the four current Felo models. It is an example duration, not a claim that all product videos should be six seconds long.
Choose the input approach before the model settings
If you need the product's appearance to guide the shot, use a supported reference-image workflow. If you have carefully prepared opening and closing compositions, frame inputs may be more relevant.
Seedance 2.5 supports either reference media or first/last frames, but not both in the same clip. Wan 3.0 Prime uses first/last frames without additional reference-image or video collections. Kling 4.0 supports first, middle and last frames as well as documented reference inputs. MiniMax H3 accepts references but does not offer native endpoint slots in Felo.
Those differences matter more than choosing a model by name alone. Consult the Seedance, Wan, Kling and MiniMax pages for current controls.
Also decide whether the clip needs generated sound. The current text-to-video matrix lists Seedance with sound, Wan with optional audio, and MiniMax and Kling as silent. A product insert that will sit beneath existing music may not need generated sound at all.
Write a prompt that protects the shot's purpose
Here is an original suggested prompt for a reference workflow. It has not been rendered as a controlled product-fidelity test.
Create one six-second shot of the blue insulated bottle in the supplied product photograph. Use the image for the bottle's silhouette, cap shape, main color and label placement. Keep the bottle upright and stationary on a pale stone surface. Move the camera through a small arc from the front toward the front-right side, keeping the whole bottle visible. Soft window light comes from the left. Keep the background simple. End on a calm three-quarter view with empty space above the bottle for text added later. No cuts, extra products or generated text.
The wording separates what stays stable from what changes. It also avoids asking the model to invent readable promotional copy inside the generated image.
For a detail shot, change the camera instruction rather than adding another event:
Keep the same product, surface and light direction. Begin closer to the bottle's upper section and slowly move toward the cap. Keep the cap and neck clearly visible. The bottle stays still. End before any important detail leaves the frame.
Use the version that serves the sequence. A full-product reveal and a cap detail can be generated as separate shots if the final video needs both.
Review product accuracy before visual polish
Compare the generated clip with the source photograph. Watch it at normal speed, then inspect moments where the viewpoint changes most.
Check the silhouette, proportions, color, hardware and visible markings. Does the cap change shape? Does the handle gain an extra attachment? Does the label drift around the surface? A smooth camera move does not make those errors acceptable for a product-focused use.
Generated lettering deserves special attention. If exact packaging text or a logo must be shown faithfully, do not assume a reference guarantees it. Use approved stills, real footage or another suitable production method when the generated result cannot preserve the required detail.
For a demonstrative action, verify that the item behaves as it actually does. A generated animation should not imply an unsupported function, capacity or material property. Keep the creative brief aligned with what the product can show accurately.
Revise one issue at a time
If the product drifts, reduce the camera move and simplify the background before adding more styling. If the shot feels static, identify the smallest motion that would make its purpose clearer.
A useful revision might say: “Keep the bottle, surface and lighting. Make the camera arc half as wide and keep the cap fully visible.” This provides a specific next attempt to evaluate.
Save the earlier take. Each revision is a new generation, and a change that improves one part of the shot can alter another. Check the current credit estimate before submitting the next attempt.
Finish the product message in your editor
Download the accepted clip and place it in the intended sequence. Add the exact product name, price, offer, captions and call to action as editable layers in your editing application. This gives you control over wording and timing without requiring generated text to remain correct across frames.
Match the clip to the surrounding footage. Check color, pacing and scale, then review the final export at the size viewers will see. A small mobile display can make a detail shot difficult to read even when it looks attractive on a large monitor.
This workflow produces a visual asset. It does not establish that the video will increase conversions or outperform a previous ad; those outcomes require a separate campaign test.
Frequently asked questions
Can one product photo become a full 360-degree view?
You can request a large rotation, but one image does not reveal every surface. For an accurate product representation, begin with a modest move and inspect unseen details carefully.
Should I add the price in the generation prompt?
Add exact sales text in your editor. It remains easier to update and control than text embedded in generated frames.
Which model should I choose?
Choose by input requirements, sound, ratio and resolution. Use the model documentation and the actual output to evaluate fit, rather than assuming one model is best for every product.
Does Felo assemble the complete ad here?
The AI video workflow generates clips. Plan final cuts, captions and other finishing work in your editor.
Choose one product image and one useful movement, then start with Felo's image-to-video generator.
This post is also available in 简体中文, 日本語, 한국어, 繁體中文, हिन्दी, Français, العربية, Русский, اردو, Bahasa Indonesia, Deutsch, Tiếng Việt, Türkçe, Italiano, ไทย, Español, বাংলা and Português.