Video to Prompt: Break Down Shots into AI Prompts

Turn video references into AI prompts using shot breakdowns, original examples, continuity notes, and a practical review process.
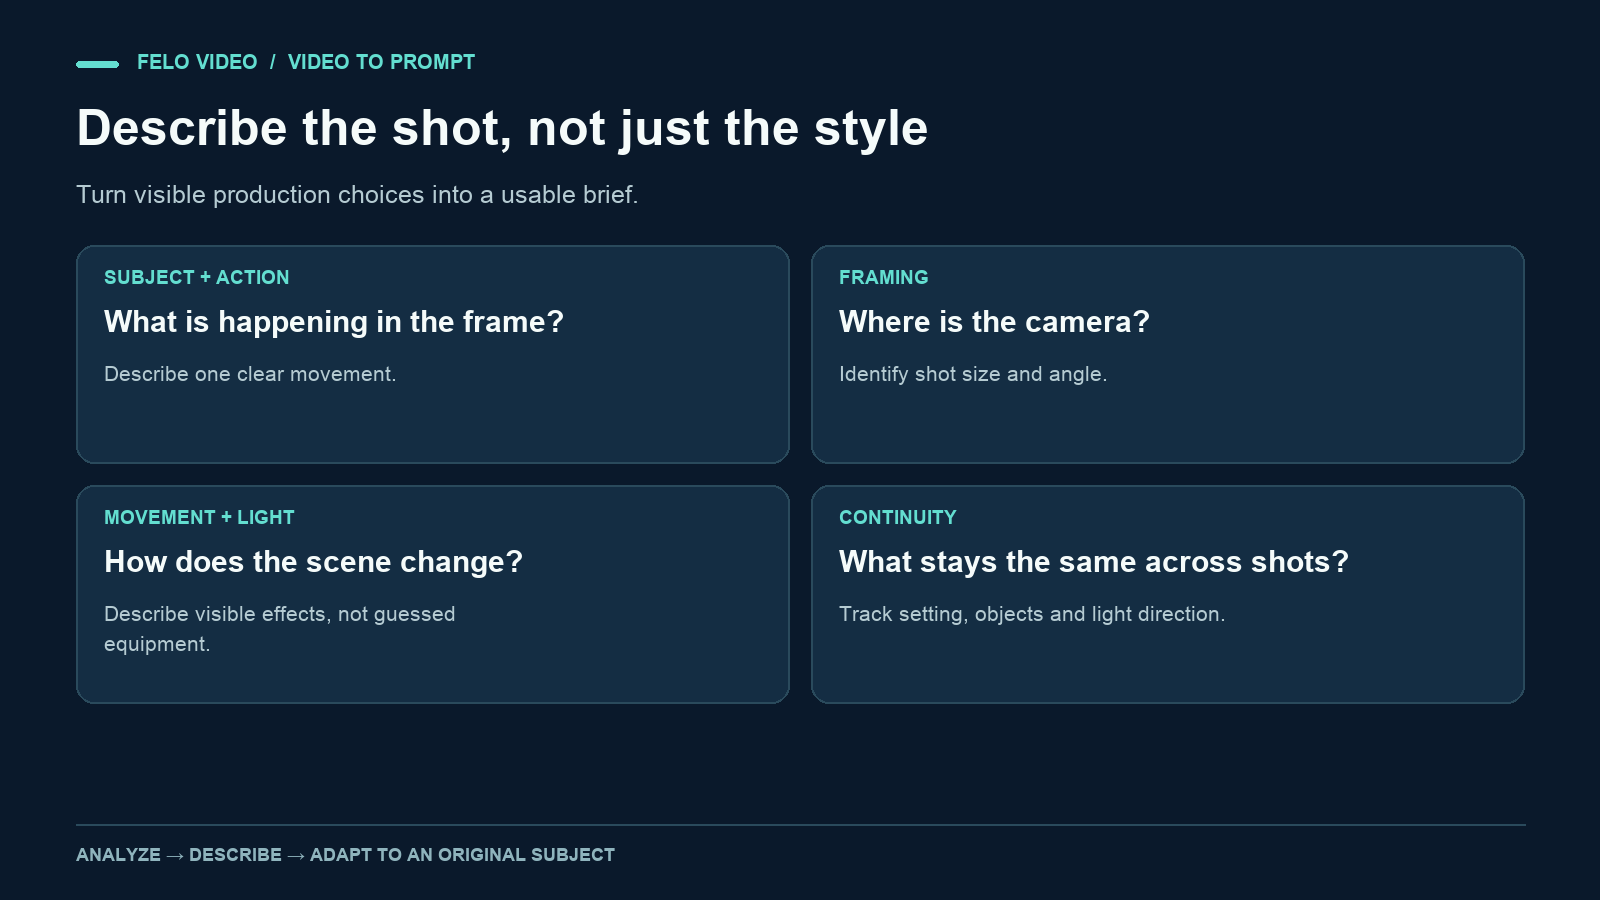
You can describe a video as cinematic and still say very little about how it works. A useful prompt needs the visible details: what moves, where the camera sits, how the frame changes, and what connects one shot to the next.
A video to prompt workflow starts with an existing clip and turns those observations into text you can inspect and adapt. It can help you study a visual structure or prepare a new creative brief.
It does not recover a secret original prompt or guarantee the same result from another model. The output is an interpretation of visible material. You still need to judge whether it describes the clip accurately and whether the adapted prompt serves your own project.
What video to prompt actually gives you
Think of the output as a written description of production choices.
A shot prompt might describe the subject, action, framing, camera movement, setting, light, and visual style. A whole-video prompt may summarize the sequence and pacing. A separate analysis can explain the opening hook or how the final shot resolves the action.
Those descriptions are useful even when you do not intend to recreate the reference. You might notice that the video begins with the finished object, cuts to two stages of its construction, and returns to the finished result. That structure can inform an original tutorial about a different subject.
Keep observation separate from inference. "The camera moves slowly toward the object" describes visible motion. "The creator used a specific lens and generation model" may be a guess unless you have additional evidence.
Also distinguish visual description from a transcript. Dialogue and on-screen wording can matter, but a prompt that only copies spoken lines does not explain the framing or movement.
Start with a reference you can use
Choose a clip that is accessible and suitable for analysis. For a production project, use your own material, licensed material, or another reference you are entitled to use in the intended way.
A public link alone does not settle every question about reuse. You can study general structure without treating the original creator's identity, logos, characters, or distinctive assets as material to copy.
A short, clear reference is easier to inspect than a long compilation. Look for visible scene boundaries and a sequence you can summarize. If a clip changes subjects every second, the first useful task may be to choose one segment rather than analyze everything at once.
Record why you selected it. "I want the clear reveal sequence" is a better starting point than "make this go viral." The first describes a production feature you can evaluate. The second asks for an audience outcome a prompt cannot guarantee.
Break the clip into observable shots
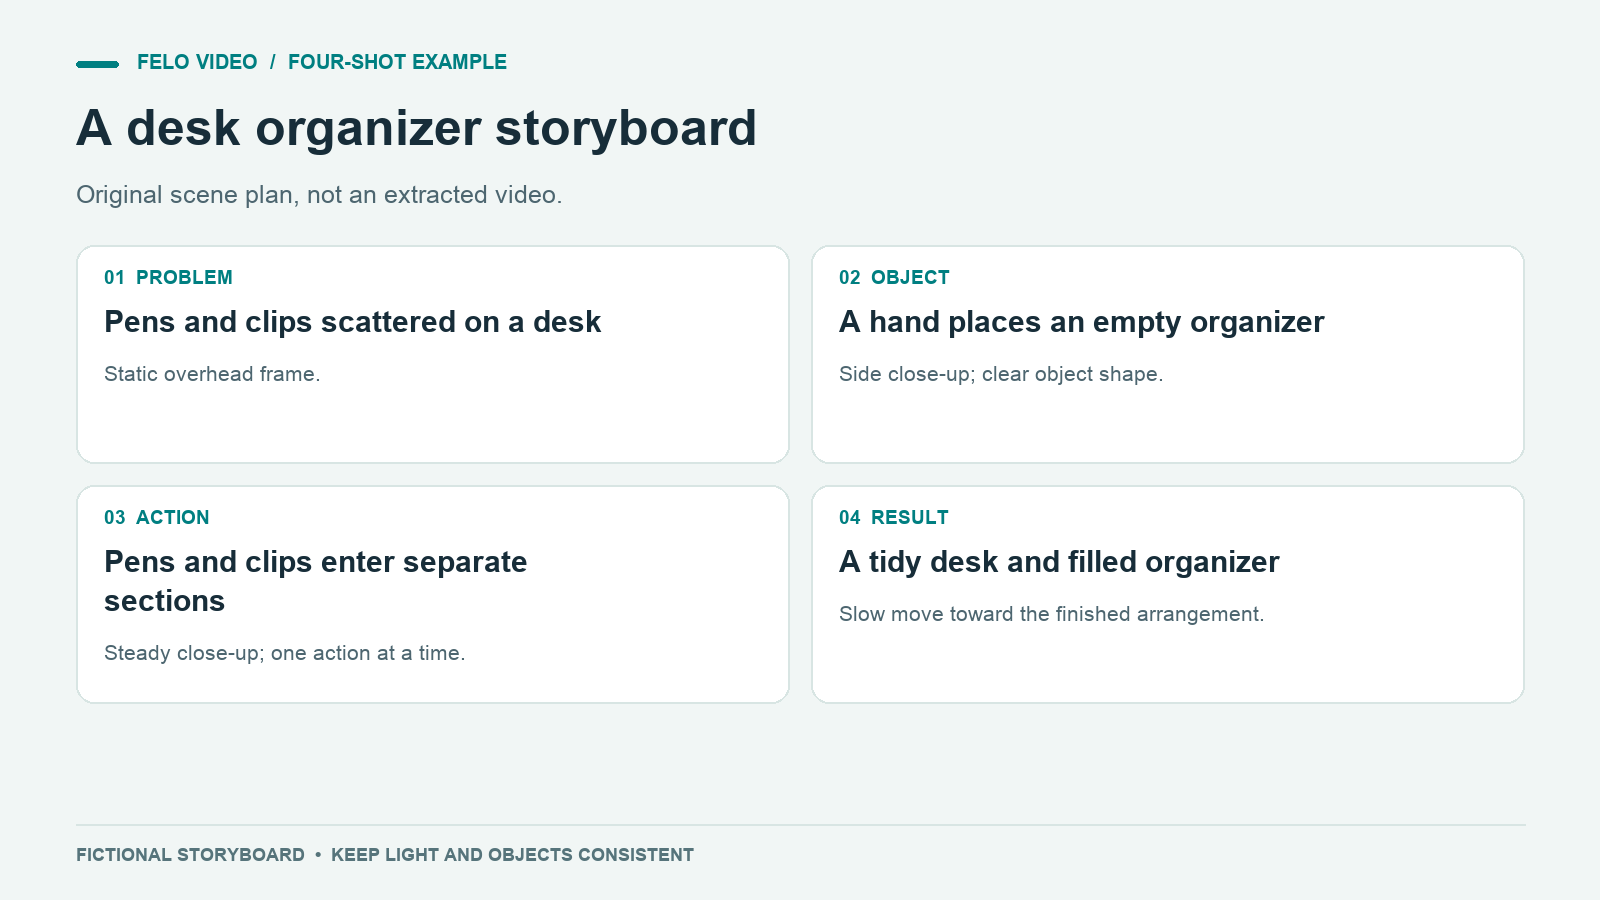
Before writing a prompt, create a shot table. You can do this manually or review the table a tool proposes.
The example below is an original storyboard for a fictional desk-organizer demonstration. It is not extracted from an existing creator's video and is not a claim about a generated result.
| Shot | Visible action | Camera and framing | What the shot contributes |
|---|---|---|---|
| 1 | Pens and clips lie scattered on a desk | Static overhead view | Establishes the organizing problem |
| 2 | A hand places an empty organizer on the desk | Medium close-up from the side | Introduces the object |
| 3 | Pens move into one compartment and clips into another | Close-up with a stable camera | Shows the action clearly |
| 4 | The organized desk is shown without hands | Slow move toward the finished arrangement | Gives the viewer a final view |
The sequence has a simple argument: here is the problem, here is the object, here is its use, and here is the result. You could adapt that argument to many original demonstrations.
When analyzing a real clip, avoid assigning exact timestamps from memory. Check the scene boundaries directly. A prompt may not need frame-perfect timing, but an editing plan should use observed timing rather than invented precision.
Write one clear prompt for each shot
Begin with the action. Then add the visual details needed to make it legible.
For the fictional organizer sequence, the prompts might be:
Shot 1: establish the problem
Static overhead view of a light wooden desk with a small, ordinary collection of pens, paper clips, and blank note cards scattered near the center. Soft daylight enters from the left. Keep the objects separated enough to identify them clearly. No logos, readable brand names, or extra decorative items. The scene should feel like a practical desk demonstration.
Shot 2: introduce the object
Medium close-up from the side of the same light wooden desk. One hand places a plain, empty two-compartment desk organizer in the center of the frame. Keep the organizer's shape and proportions clear. Use the same soft daylight from the left and a stable camera. Show one deliberate placement action, with no added text or background activity.
Shot 3: demonstrate the use
Close-up of the plain two-compartment organizer on the desk. A hand places the pens in one compartment, then the paper clips in the other. Keep the camera steady so the sorting action is easy to follow. Match the desk surface, organizer, and left-side daylight from the earlier shots. Avoid extra compartments, labels, or unexplained object changes.
Shot 4: show the result
A clean view of the finished desk arrangement with pens and clips in their separate organizer compartments and blank note cards stacked nearby. No hands in the frame. Make a slow, restrained camera move toward the organizer while keeping the whole arrangement understandable. Preserve the same object design, wooden desk, and soft daylight. End on the completed arrangement.
These prompts communicate an original scene plan. They do not promise that any particular generator will preserve every object or action correctly. Review the model's output and revise the prompt or edit the sequence when needed.
Keep continuity outside the individual prompts
Each shot prompt can be accurate on its own while the sequence feels inconsistent. The organizer may change shape, the light may switch sides, or the desk may change color.
Create a short continuity note before generating:
Shared scene:
Light wooden desk, plain two-compartment organizer, soft daylight
from the left, neutral background, no branding.

Keep consistent:
Organizer shape and color; object categories; desk surface;
light direction; overall visual style.

Purpose:
Show a simple organizing action clearly.
If your video tool accepts reference images or other continuity controls, use the options it actually supports. Do not assume that repeating the same words guarantees identical objects across independent generations.
Keep the prompt's detail proportional to the shot. A close-up of a hand placing a pen may need precise action and framing. A wide closing view may need the arrangement and camera movement. Repeating a long style paragraph can obscure the action that matters.
Adapt the structure to an original subject
Suppose your project is about organizing a travel pouch rather than a desk. Keep the sequence's functional roles, then replace the scene details.
The opening shows scattered travel items. The second shot introduces the pouch. The third demonstrates placing items into compartments. The final shot shows the packed result.
Do more than swap a noun in every sentence. A pouch bends and opens differently from a rigid organizer. The camera angle needs to show the opening. The demonstration may need fewer items to remain readable. Your new subject should determine those choices.
You can also change the structure. If the result is immediately interesting, begin with the packed pouch and then explain how it was arranged. The reference is a starting point for editorial decisions, not a rule you must reproduce.
Avoid carrying over a creator's recognizable face, name, logo, or distinctive character simply because it appeared in the reference. Describe the visual function you need and build your own scene around it.
Use Felo to prepare a shot-level starting point
Felo Video to Prompt analyzes public video links and returns shot-level prompts, a whole-video prompt, and a structural breakdown. Its published scope currently covers the first 60 seconds, with up to 24 shots. For a longer reference, the result should not be treated as an analysis of the entire clip.
Paste a supported public link, choose the available prompt target, and review the returned text against the source. Keep only the details you can verify. Check current availability and limits in the tool before relying on them for a production plan.
The useful next step is editing. Remove unsupported guesses, correct missed actions, and adapt the material to your own subject. A prompt generated from a reference still needs a human decision about what the new video should accomplish.
Review the prompt before spending time on generation
Read the prompt as if you had never seen the reference. Can you identify the subject, the action, and the camera's role? Does the sequence have a clear beginning and a useful final view?
Watch for incompatible directions. "Static camera" and "orbit around the subject" describe different movements. "One uninterrupted shot" conflicts with a request for several cuts unless the tool is expected to reinterpret the structure.
Remove details that the source does not establish. If the model names a lens, a camera brand, or a production technique without evidence, replace that claim with the visible effect you want.
After generation, compare the result with your own brief. A different-looking shot can still be useful if it explains the action clearly. An attractive shot that hides the action may need another attempt.
Questions about video to prompt
Can it recover the exact prompt used to make a video?
No. Visible footage does not uniquely identify an original prompt. Many different prompts, tools, and editing choices could lead to similar scenes.
Will the prompt reproduce the same video?
It can describe a target, but output depends on the generator, its controls, assets, and production choices. Treat it as a brief rather than a guarantee.
Should I use one prompt or several shot prompts?
Use a whole-video description to establish the sequence. Use shot prompts when you need to control individual actions and framing. The right production method also depends on the tool you use to generate and edit the result.
Is this the same as article to video?
No. Article-to-video work adapts written information into an explanation. Video-to-prompt work describes visual material and its structure as text. They solve different starting problems.
Choose a reference with a structure worth studying, then use the breakdown to plan a scene of your own.